Craft a Smart Travel Planner App with React Native & AWS: A Step-by-Step Guide
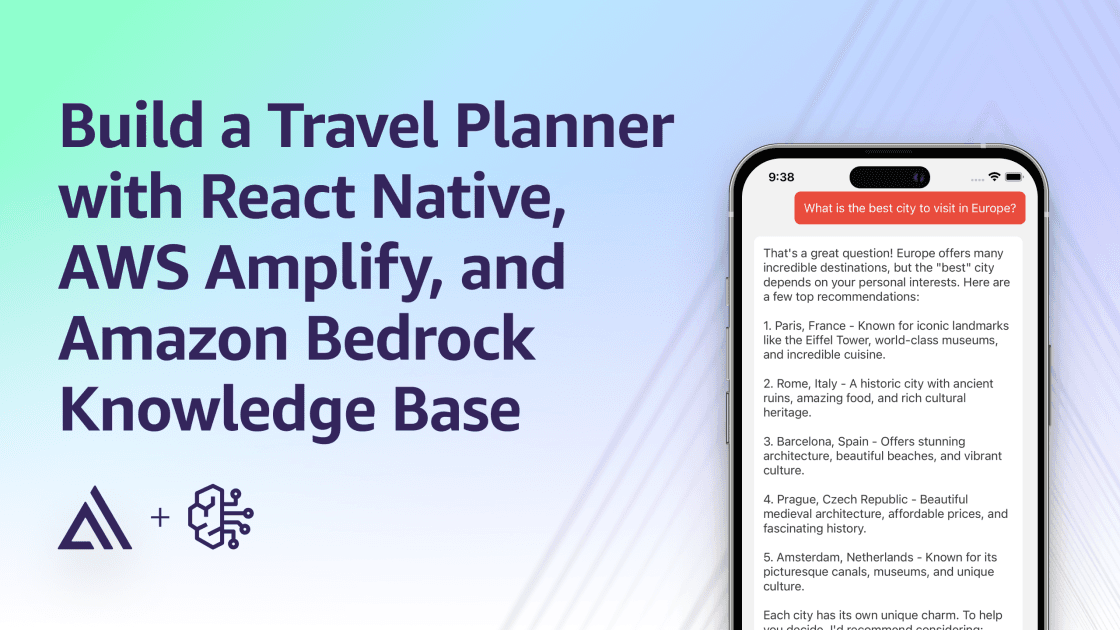
Build a Travel Planner with React Native and AWS
This tutorial demonstrates building a travel planner application using React Native, leveraging AWS Amplify, AI capabilities, and Retrieval Augmented Generation (RAG) for enhanced responses.
Getting Started with Amplify
Begin by creating an Amplify application. This sets up the necessary AWS dependencies. You'll see a new amplify folder in your project, containing a simple to-do app with email authentication. We'll build upon this foundation.
Implement authentication using Amplify UI components for a seamless user experience. The Authenticator and Authenticator.Provider components handle the authentication flow.
Install the necessary libraries:
yarn add @aws-amplify/ui-react @aws-amplify/ui-components
Integrating AI Capabilities
Amplify's AI features simplify generative AI integration. We'll use the generation capability to create our app's responses. To enable this, you will need to configure your backend to use Amazon Bedrock and then configure the AppSync resolvers to communicate with your database.
Creating a Knowledge Base with Amazon Bedrock
To enhance responses, we create a knowledge base using Amazon Bedrock. This knowledge base will contain travel information that will be used by the LLM. You'll need to create an S3 bucket and upload your data (e.g., a CSV file with city information). Then, create the knowledge base in the AWS console. This involves selecting your S3 bucket, choosing an embedding model, and configuring a vector store (consider using OpenSearch Serverless, but be mindful of costs).
<img src="https://d2908q01vomqb2.cloudfront.net/0a57cb53ba59c46fc4b692527a38a87c78d84028/2024/11/22/anthropic15-1024x627.jpg" alt="result of the knowledge base" width="1024" height="627">Here's an example of a knowledge base table:
Integrating the Knowledge Base
Finally, integrate the created knowledge base into your React Native application. This involves updating your backend configuration, adding an AppSync resolver, and using a custom hook to handle communication with the knowledge base. The app will then display the real-time results from the knowledge base.
Remember to clean up your AWS resources after testing.
- #reactnative
- #aws
- #amplify
- #ai
- #mobileapp
Comments · 0